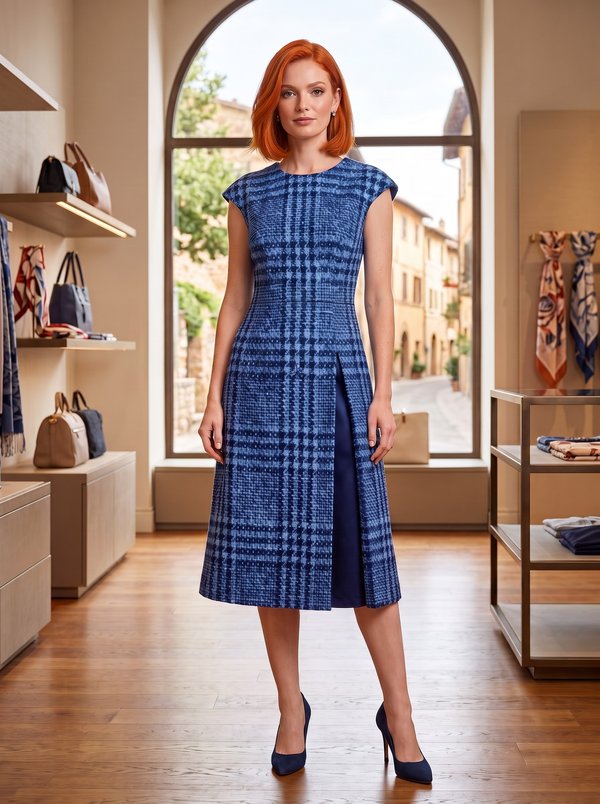
Collared Wrap-Look Dress
A women's midi dress with a wrap-look bodice, a high collar cut in one with the fronts, three-quarter sleeves gathered into cuffs and a flared skirt. A self-fabric tie runs through a loop at the front waist seam.
When To Wear
- For the office and daytime meetings in spring and autumn.
- For family celebrations and dinners, with low heels or ankle boots.
Key Design Features
Silhouette: Fitted bodice with princess seams, waist seam, flared skirt.
Length: Below the knee.
Collar: High collar cut in one with the upper fronts and joined at the centre back seam of the collar; it stands at the back and rolls open into the wrap neckline at the front. Faced with interfaced front facings and a back neck facing.
Front: Right front laps over the left and is fixed at the waist seam; it does not open.
Sleeves: Three-quarter set-in sleeves lined with lining fabric, gathered at the lower edge into interfaced cuffs.
Waist: A narrow loop is caught in the front waist seam; a tie made from a 2.5 cm by 150 cm strip of dress fabric passes through it and ties at the back.
Skirt: Front skirt in one piece cut on the fold; back skirt in two pieces with a centre back seam.
Back: Darts in the upper back, waist seam, concealed zipper in the centre back seam below the collar.
Level Of Difficulty
Intermediate. A cut-on collar with clipped corners at the shoulder seams, a faced wrap front, lined sleeves with cuffs and a concealed zipper.
Fabric Recommendations
Dress fabrics in natural or blended fibres.
Additional Supplies
- Lining fabric (sleeves)
- Fusible interfacing (front facings, cuffs)
- Concealed zipper
Cutter's Must
When stitching pieces, pay attention to the notches - they must match!
- From main fabric:
- Upper back - 2 pieces
- Lower back – 2 pieces
- Upper center front - 2 pieces
- Upper side front - 2 pieces
- Lower front - 1 piece on fold
- Front facing — 2 pieces
- Sleeve — 2 pieces
- Cuff — 2 pieces
- Bridge — 1 piece
- Back neckline facing — 1 piece
- From lining fabric:
- From fusible interfacing:
- Front facing — 2 pieces
- Cuff — 2 pieces
Sewing Instructions
- Interface the pieces with fusible interfacing.
- Stitch the darts of the upper back, press the fullness towards the center. Stitch the upper and lower back parts, overlock the allowances and press upwards.
- Overlock the center back seam separately. Stitch the center back seam from the neckline edge to the first mark and from the second mark to the bottom, press the allowances open. Insert the concealed zipper.
- Stitch the princess seams of the front, press the allowances towards the center and overlock.
- Stitch the seam of the integrated collar, press the allowances open. Stitch the shoulder seams, clipping the front piece at the corner, press the allowances towards the back and overlock. Stitch the collar into the neckline, press the allowances towards the collar.
- Stitch the seam of the integrated collar facings, press the allowances open. Stitch the shoulder seams of the back neckline facing and front facings, clipping the front facing piece at the corner, press the allowances open. Stitch the collar into the facing neckline, press the allowances towards the collar. Overlock the outer edge. Fold the front facing with the dress right sides together and stitch the edges of the front opening and collar. Turn the front facing to the wrong side, straighten, press. Secure the shoulder seams of the front facing to the shoulder seams of the dress. Overlap the right front piece over the left and secure at the lower edge.
- Overlock the short sides of the bridge, press to the wrong side and topstitch. Fold the bridge in half, right side out. Stitch the upper and lower front parts, inserting the bridge, overlock the allowances and press upwards.
- Stitch the side seams, press the allowances towards the back and overlock.
- Stitch the sleeve seams from the main fabric, press the allowances towards the back and overlock. Stitch the sleeve seams from the lining fabric, press the allowances towards the back and overlock. Stitch a gathering stitch along the lower edge of the sleeve with loosened thread and gather.
- Stitch the cuff into a ring, press the allowances open. Press the cuff lengthwise in half, right side out. Fold the main and lining sleeve pieces, aligning them at the lower edge. Insert the cuff between the pieces and stitch. Turn the sleeve to the right side, align the main fabric with the lining at the sleeve cap and then treat as one piece. Stitch the sleeves into the armholes, aligning the notches. Press and overlock the allowances.
- Overlock the lower edge of the garment, press to the wrong side and topstitch.
- Cut a strip from the main fabric 2.5 cm wide and 150 cm long. Fold the strip lengthwise in half, right sides together, and stitch along the long side and one short side. Turn the strip to the right side, straighten, press. Fold the raw edge inwards and topstitch. Thread the resulting cord through the bridge.