Professional made-to-measure digital sewing patterns — PDF · PLT · DXF AAMA
A women's mid-thigh coat with an asymmetric wrap-over front fastened by one large button and three inner buttons, a high wide collar, two-piece set-in sleeves, large patch pockets and a self-fabric tie belt. Fully lined. Drafted to your own measurements. Recommended fabric: coating fabrics of natural or blended fibres.
A women's mid-thigh coat with an asymmetric wrap-over front fastened by one large button and three inner buttons, a high wide collar, two-piece set-in sleeves, large patch pockets and a self-fabric tie belt. Fully lined.
Silhouette: Slightly flared from the waist, shaped by waist darts and drawn in by the tie belt.
Length: Mid-thigh.
Collar: High, wide collar of upper and under collar, interfaced, standing away from the neck and wrapping over at the front; the under collar is set into the coat neckline and the upper collar into the facing neckline.
Sleeves: Long two-piece set-in sleeves (upper and lower sleeve) with elbow and front seams; the sleeve cap is eased into the armhole.
Closure: Asymmetric wrap-over front; one large button with a buttonhole at the top, and three inner buttons with buttonholes on the right front facing.
Pockets: Large patch pockets with an angled opening, the opening turned in 2.5 cm and topstitched; each pocket is topstitched to the front on three sides.
Waist: Waist darts on the fronts, pressed downwards; separate tie belt, folded lengthwise, stitched and turned through an opening.
Finishing: Interfaced centre front facings and back neckline facing; coat hem allowance 3 cm.
Lining: Full lining with lined sleeves, cut minus the facing width and bagged out through an opening in the left sleeve lining seam.
Intermediate. Two-piece set-in sleeves with an eased cap, a collar set between coat and facing, a bagged full lining and an asymmetric wrap-over front with inner buttons.
Coating fabrics of natural or blended fibres.
If the patterns have a double contour, they include seam allowances. If the contour is single, the patterns do not include seam allowances. Seam allowances: all seams 1 cm; pocket opening hem allowance – 2.5 cm; coat hem allowance – 3 cm. Attention! First, print out the paper patterns and lay them out on the fabric width (fabric width can be from 90cm to 150cm) to determine how much material you will need (don't forget to account for paired and symmetrical pieces). When stitching pieces, pay attention to the notches - they must match!
From main fabric:
From lining fabric:
From fusible interfacing:
Attention! Lining pieces are cut minus the width of the Center Front Facing and the Back Neckline Facing.
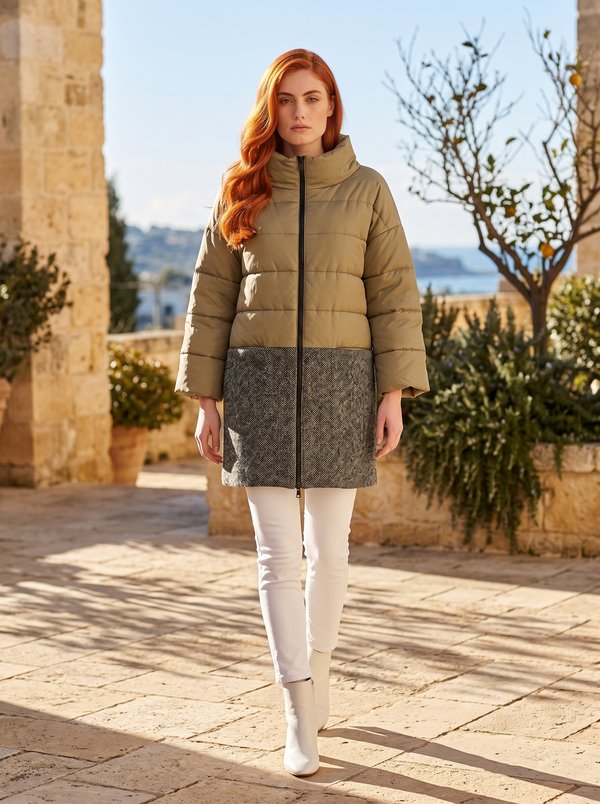
#4601
Zippered Padded Two-Tone Jacket with Stand Collar
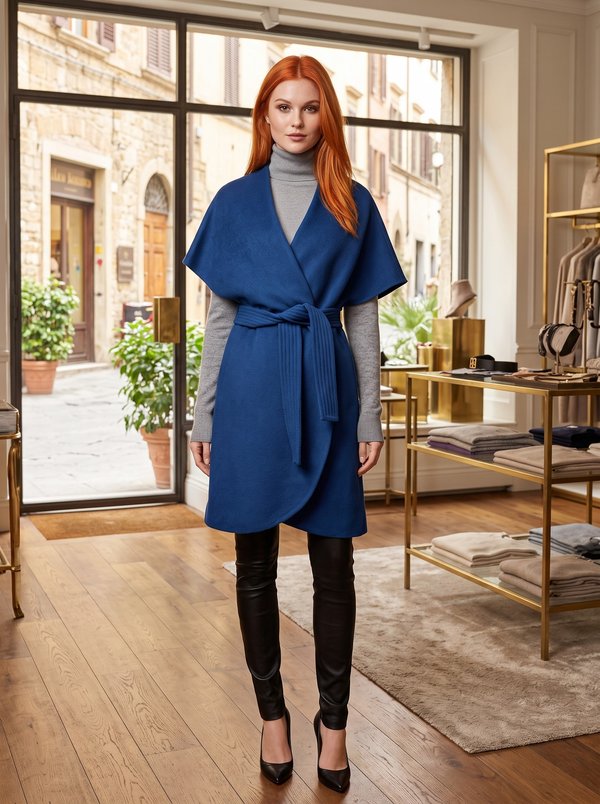
#4598
Cape Sleeve Belted Wrap Coat
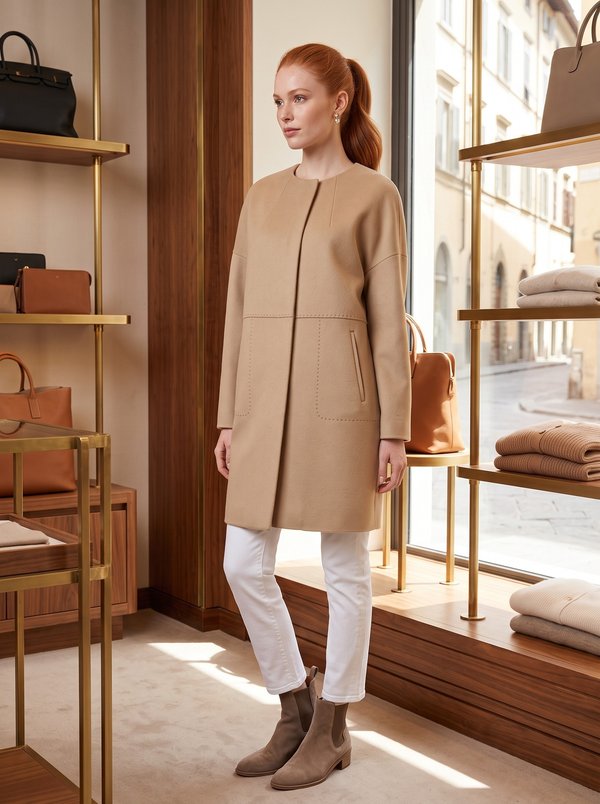
#4591
Coat With Snaps And Welt Pockets
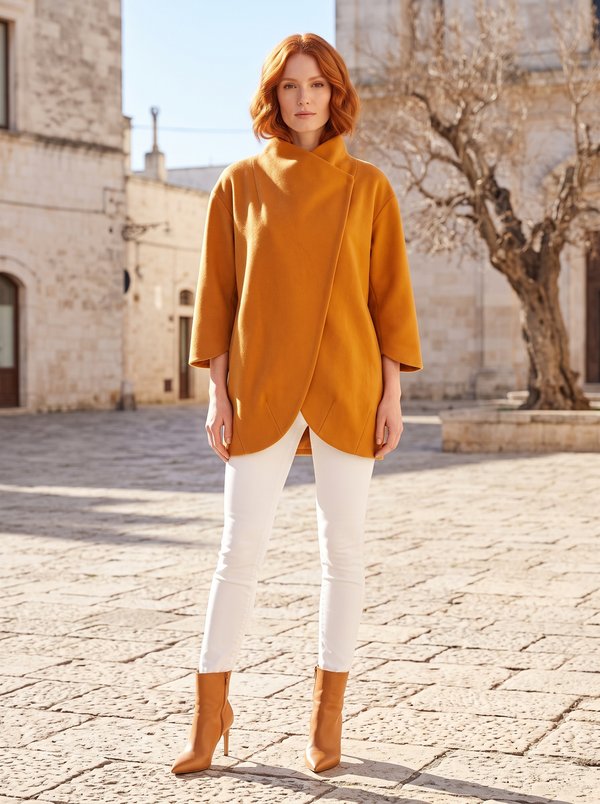
#4639
Asymmetric Front Coat

#4584
Faux Shearling Zipper Front Stand Collar Coat
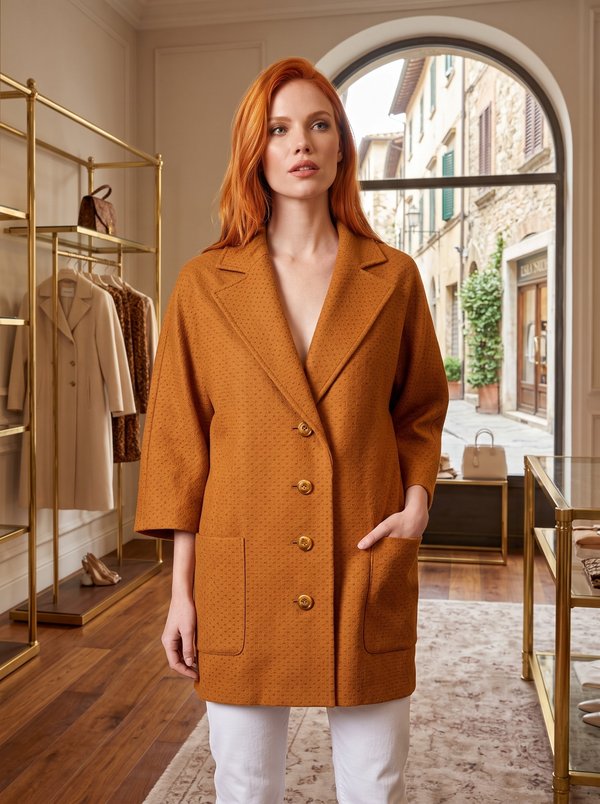
#4671
Light Three Quarter Sleeves Coat
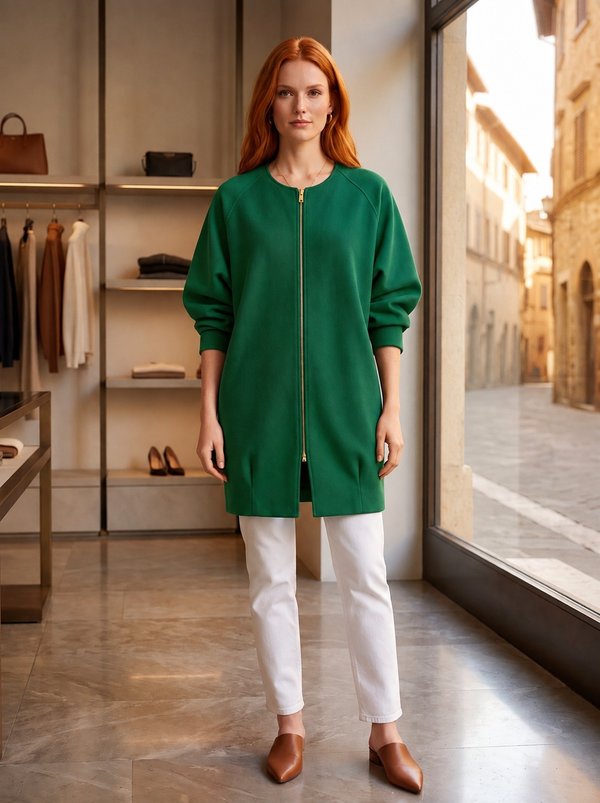
#4672
Coat with Raglan Sleeves & Front Zipper

#4697
Double-Faced Shawl-Collar Coat

Minerva Support
Online