Professional made-to-measure digital sewing patterns — PDF · PLT · DXF AAMA
A women's faux shearling coat, mid-thigh length, with a separating zipper bound in leather trim, a wide stand collar edged with a fur band, panelled front and back, and fur bands at the hem and cuffs. Unlined. Drafted to your own measurements. Recommended fabric: faux shearling.
A women's faux shearling coat, mid-thigh length, with a separating zipper bound in leather trim, a wide stand collar edged with a fur band, panelled front and back, and fur bands at the hem and cuffs. Unlined.
Silhouette: Shaped by vertical panel seams, flaring slightly towards the hem.
Length: Mid-thigh.
Collar: Wide stand set into the neckline and joined at the shoulder seams, finished with a separate collar band; it can be worn turned back.
Front: Each front made of central and middle upper panels, a lower panel and a side panel. The right front edge is bound with leather trim topstitched 0.7 cm from the edge.
Closure: Separating zipper; on the left it is set between the front and a facing, on the right it is caught under the leather trim.
Sleeves: Set-in into open armholes; the sleeve seam is sewn together with the side seam. Fur band at the cuff.
Back: Upper back in central and middle panels with a centre back seam, a lower back in one piece and side back panels.
Finishing: Hem, front edge and collar finished with bands sewn fur side to suede side, with no hem allowance.
Advanced. Working with double-faced faux shearling, many panel seams, a separating zipper with leather binding, edges finished with bands instead of hems.
Faux shearling.
If the patterns have a double contour, they include seam allowances. If the contour is single, the patterns do not include seam allowances. Seam allowances: all seams 1 cm. Hem allowance for back, front, collar, and sleeve plackets - 0 cm, allowance for the center edge of the front placket – 0 cm, allowance for the left side of the collar – 0 cm. Attention! First, print out the paper patterns and lay them out on the fabric width (fabric width can be from 90 cm to 150 cm) to determine how much material you will need (do not forget to account for paired and symmetrical pieces).
From faux shearling:
When stitching pieces, pay attention to the notches - they must match!
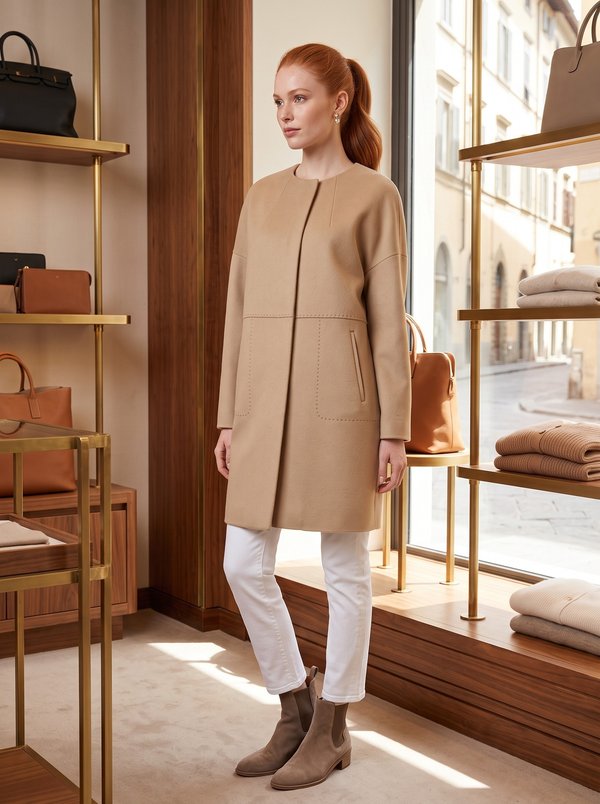
#4591
Coat With Snaps And Welt Pockets
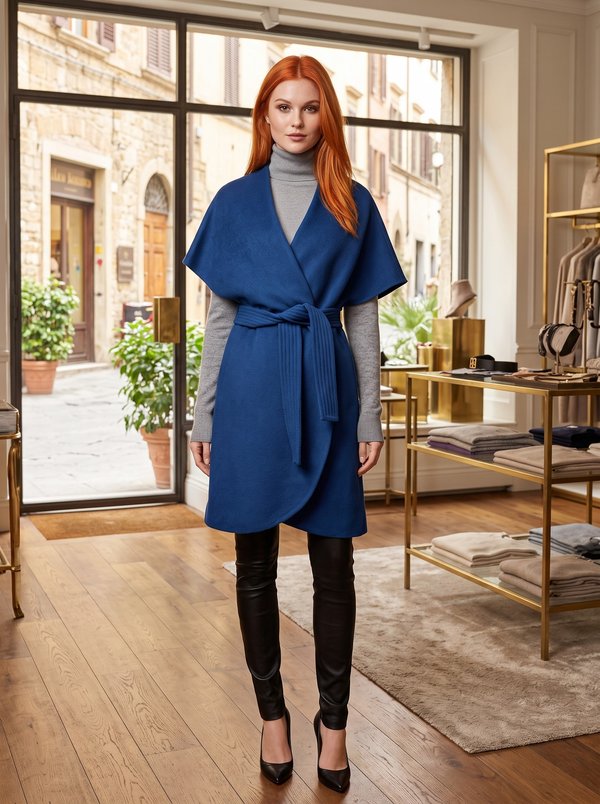
#4598
Cape Sleeve Belted Wrap Coat
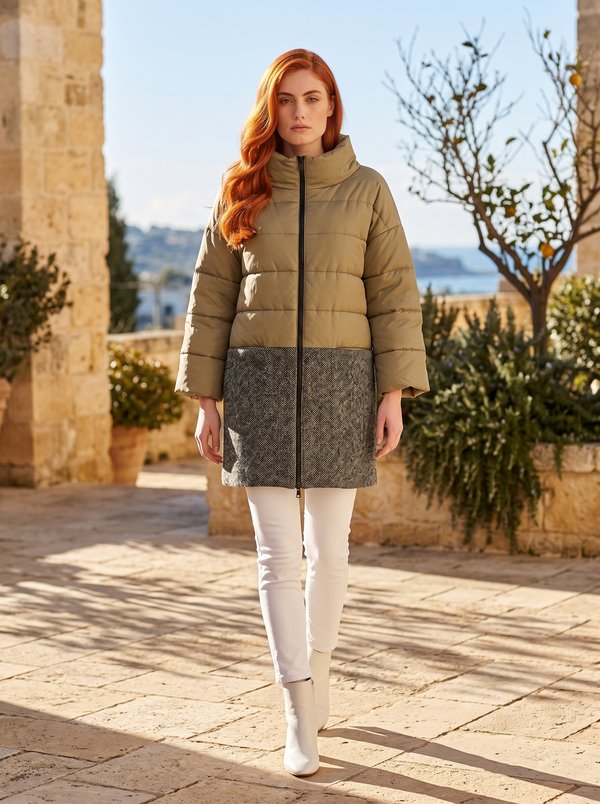
#4601
Zippered Padded Two-Tone Jacket with Stand Collar
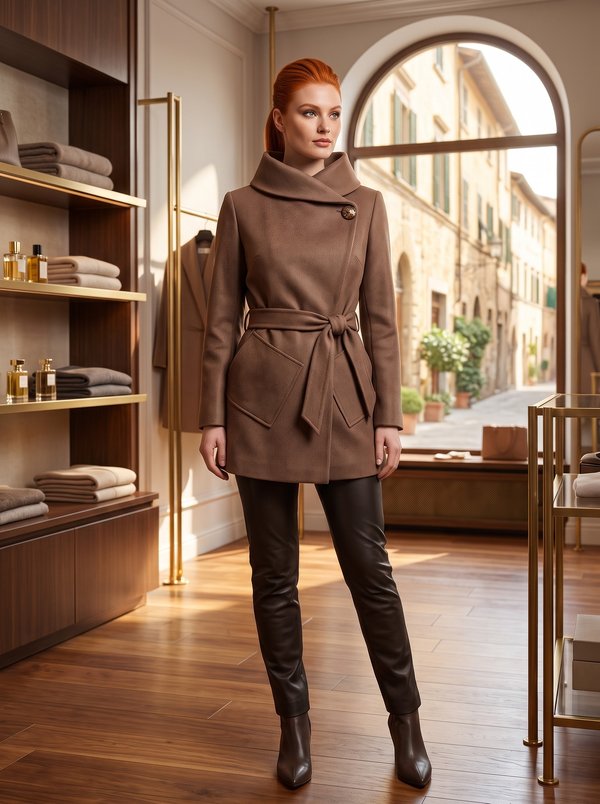
#4613
Belted Long Sleeve Coat with Collar
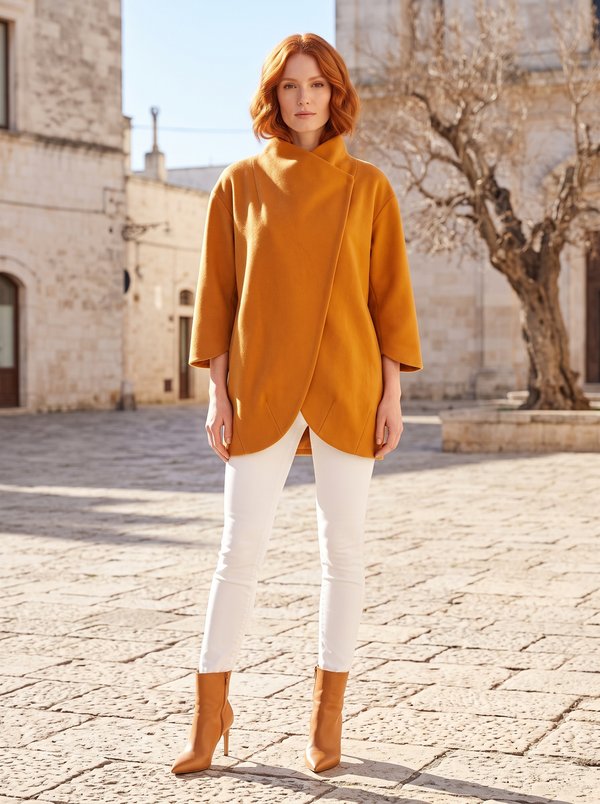
#4639
Asymmetric Front Coat

#4497
Empire Waist Knee-Length Hooded Coat
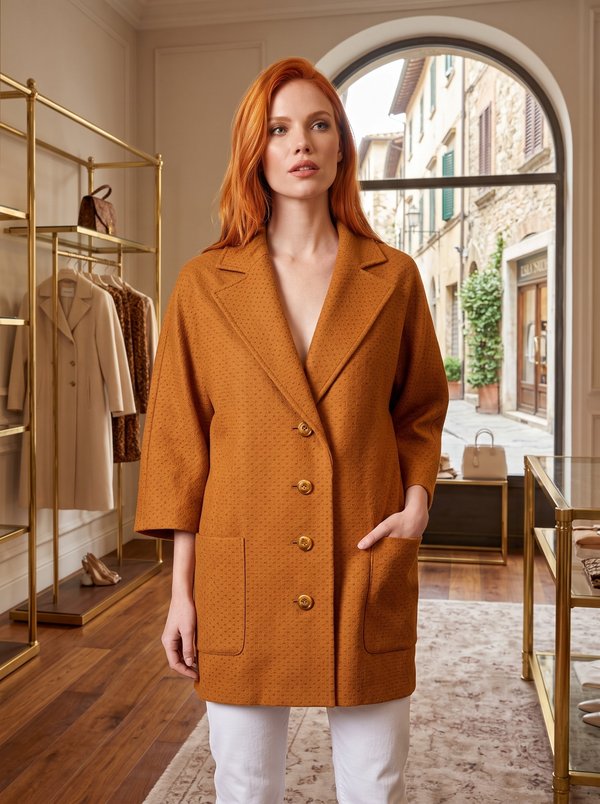
#4671
Light Three Quarter Sleeves Coat
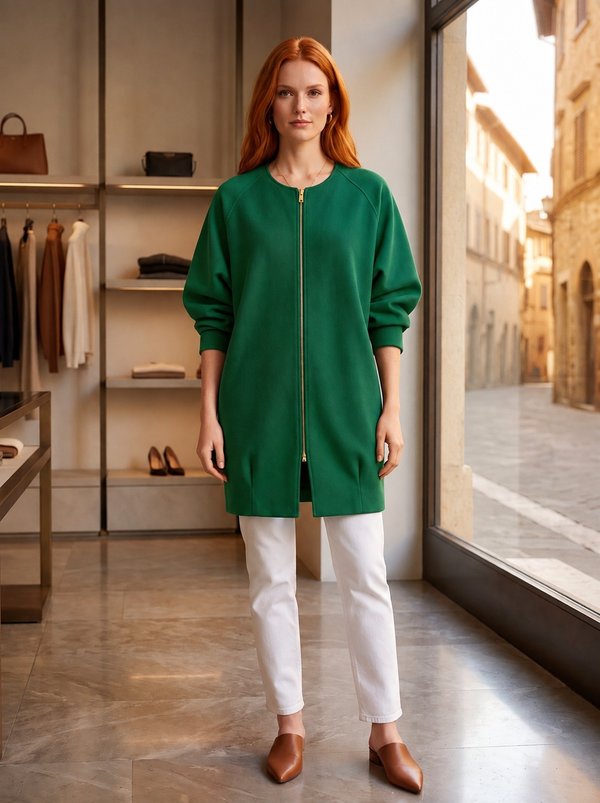
#4672
Coat with Raglan Sleeves & Front Zipper

Minerva Support
Online