Professional made-to-measure digital sewing patterns — PDF · PLT · DXF AAMA
A straight women's tunic with a stand collar, a faced vertical slit at the centre front, bust darts and side slits. A 4 cm decorative trim edges the front slit, the sleeve hems, the hem and the side slits. Drafted to your own measurements. Recommended fabric: dense blouse fabrics made of natural or blended fibres.
A straight women's tunic with a stand collar, a faced vertical slit at the centre front, bust darts and side slits. A 4 cm decorative trim edges the front slit, the sleeve hems, the hem and the side slits.
Silhouette: Straight, with bust darts pressed upwards.
Length: Hip length, with open slits at the side seams.
Collar: Stand collar of two layers, the outer one interfaced; the inner stand is topstitched into the attachment seam.
Neckline: A straight vertical slit at the centre front, finished with an interfaced front neckline facing; the stand starts at the edges of the slit.
Sleeves: Long, straight, one-piece set-in sleeves.
Back: One piece cut on the fold, no centre back seam.
Finishing: Side slit allowances topstitched 0.5 cm from the edge; hem and sleeve hems overlocked, turned and topstitched. The trim is sewn on 1 cm from the edges and on the front is stitched through the facing.
Intermediate. Few pieces and straight seams; the faced slit with a stand collar set between the front and the facing needs care at the corners.
Dense blouse fabrics made of natural or blended fibres.
From Main Fabric:
From Fusible Interfacing:
Before cutting your fabric:
Apply fusible interfacing to the Front Neckline Facing and the outer Stand Collar.
Stitch the darts on the Front.
Press the dart intake upward.
Stitch the shoulder seams of the tunic, press the seam allowances toward the Back, and overlock.
Stitch the side seams from the armhole to the start of the slit, press the seam allowances open, and overlock.
Topstitch the seam allowances along the slit at 0.5 cm from the edge.
Overlock the outer edges of the Front Neckline Facing.
Place the Front Neckline Facing onto the Front, right sides together, and stitch the straight neckline opening.
Begin and end stitching exactly at the marked attachment line.
Trim seam allowances at the corner, turn the facing to the wrong side, and press.
Place the Stand Collar pieces right sides together and stitch along the outer edge.
Trim seam allowances at the corners.
Turn the Stand Collar right side out and press.
Attach the Stand Collar to the neckline of the Front, placing it between the garment and the Front Neckline Facing.
Attach the outer Stand Collar to the neckline of the Front.
Clip the seam allowance of the collar at the shoulder seam, then attach the collar to the neckline of the Back.
Turn the seam allowance of the inner collar to the inside and topstitch in the seam of attachment.
Stitch the sleeve seam of the Sleeve pieces.
Overlock the seam allowance and press toward the Back.
Overlock the sleeve hem allowance, turn to the wrong side, and topstitch.
Set the sleeves into the armholes.
Overlock the seam allowance.
Overlock the hem, press to the wrong side, and topstitch.
Sew decorative trim according to the technical drawing, positioning it 1 cm from the edges.
On the Front, stitch the trim through all layers, including the Front Neckline Facing.
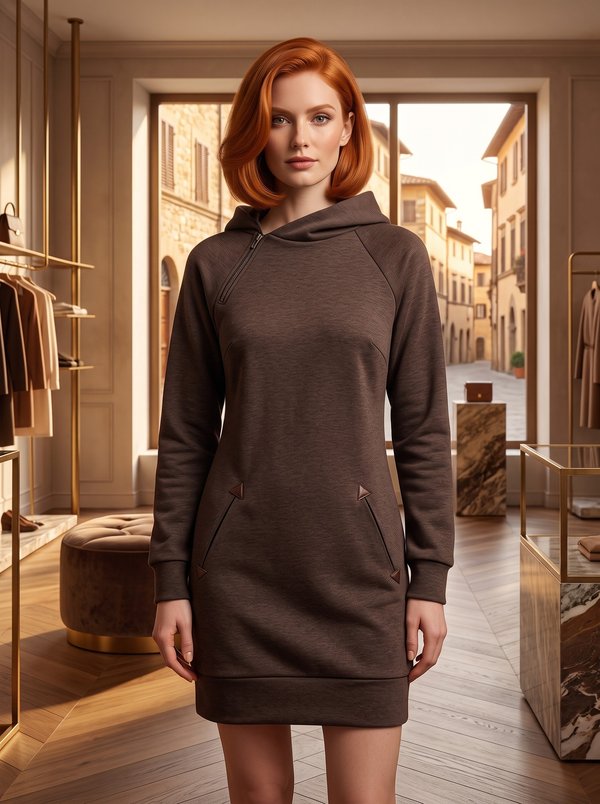
#4587
Hooded Dress With Pockets
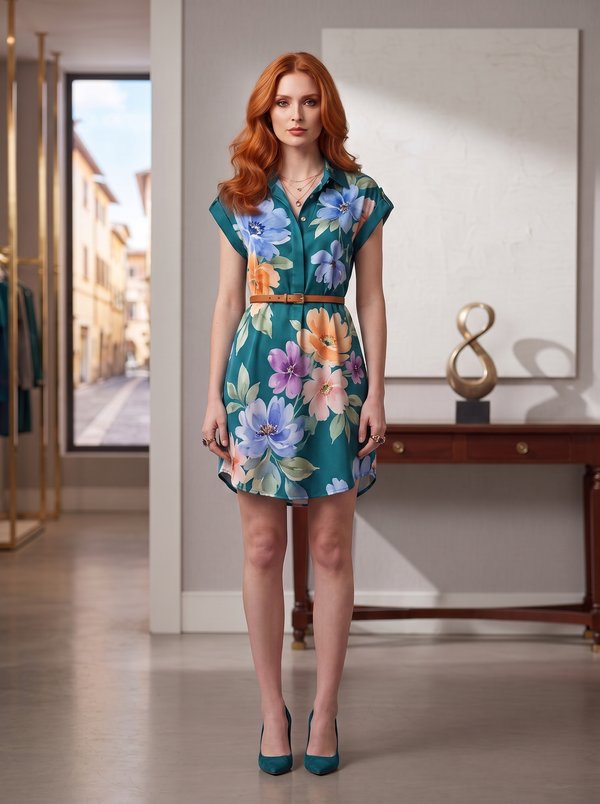
#4536
Lightweight Collared Button-Front Shirtdress
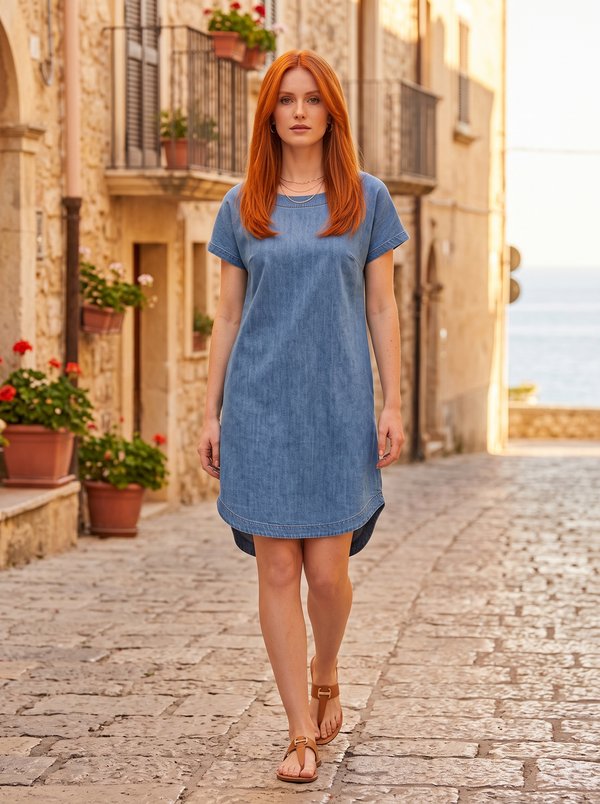
#4628
Loose Fit Short Dolman Sleeve Curved Hem Mini Dress
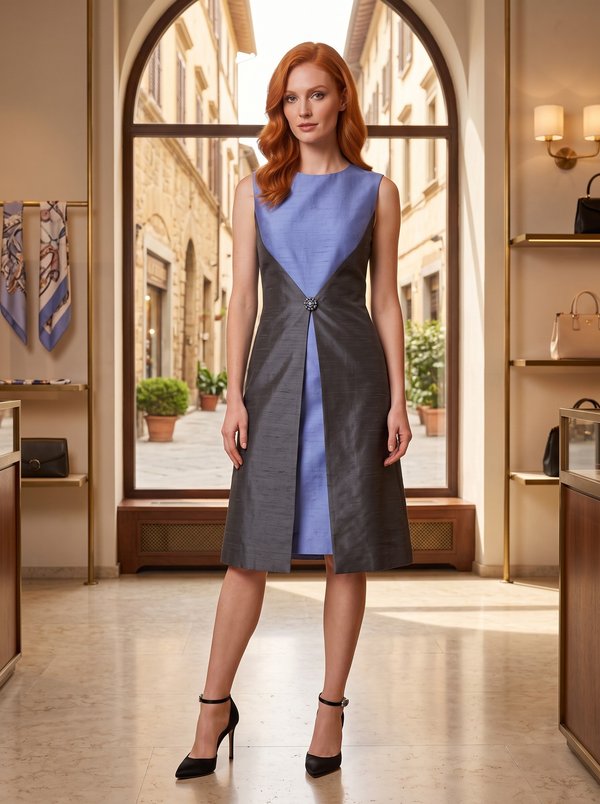
#4498
Sleeveless Dress With Floating Front Panels
#4663
Denim Shirtdress with Rolled Sleeves

#4477
Tunic Dress with Curved Side Panels
#4709
Hooded Knit Dress with Kangaroo Pocket
#4412
Knit Tunic Dress with Collar

Minerva Support
Online