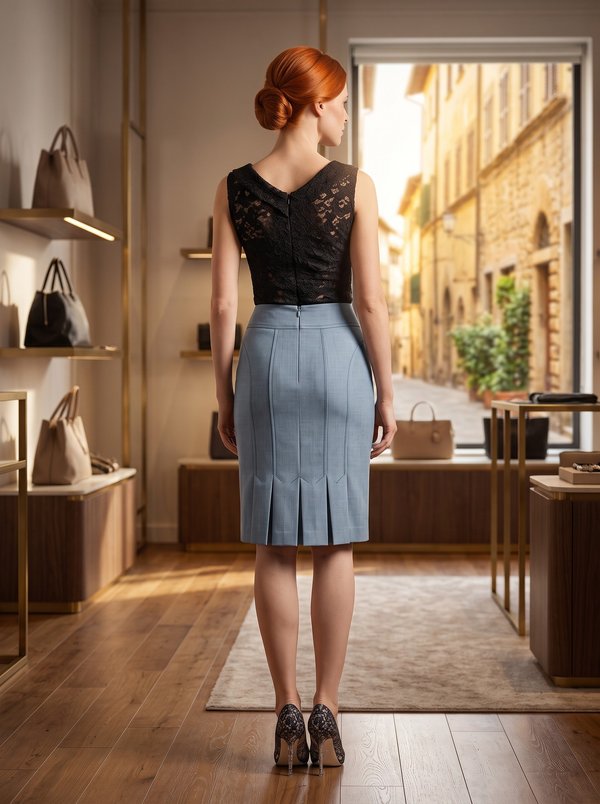
Fitted Flounce Skirt
A knee-length women's fitted skirt with an asymmetric double-layer flounce that runs from the left back princess seam across the front along diagonal seams. Princess seams, a centre back zip and vent, a straight waistband with one button.
When To Wear
- For the office with a fitted blouse or a short jacket.
- For daytime events and dinners with a simple top and heels.
Key Design Features
Silhouette: Fitted pencil shape with princess seams on the front and back.
Length: Knee length.
Front: Asymmetric panels: an upper and a middle centre front piece joined by a diagonal seam, and a lower panel that wraps from the front to the back with a second diagonal seam.
Skirt: The flounce is cut in two layers, sewn together along the outer edge and turned; one end is set into the left back princess seam, and it is stitched into both diagonal front seams, with a pleat laid at the marking.
Back: Four back panels with princess seams; centre back seam with a zip and a vent, the vent fused and lapped towards the left side.
Waist: Straight fused waistband, folded in half, closed with a buttonhole and button.
Finishing: Seams overlocked; 2 cm hem sewn by hand with blind stitches.
Level Of Difficulty
Advanced. Setting a faced flounce into princess and diagonal seams with precise stitching to marked points, a lapped vent combined with a zip, an asymmetric panel layout.
Fabric Recommendations
Thin, soft suiting fabrics of natural or blended fibres that drape well.
Additional Supplies
- Fusible interfacing (waistband, vent)
- Zip
- 1 button
Cutter's Must
If the patterns have a double contour, they include seam allowances; if the contour is single, the patterns do not include seam allowances. Seam allowances: all seams 1 cm. Hem allowance 2.0 cm. Attention! First, print out the paper patterns and lay them out on the fabric width (fabric width can be from 90 cm to 150 cm) to determine how much material you will need. All labels on the pattern pieces are written on the right side!
From main fabric:
- Right Center Back – 1 piece
- Right Side Back – 1 piece
- Left Center Back – 1 piece
- Left Side Back – 1 piece
- Right Side Front – 1 piece
- Left Side Front – 1 piece
- Upper Center Front – 1 piece
- Middle Center Front – 1 piece
- Lower Front-Back – 1 piece
- Flounce – 2 pieces
- Waistband – 1 piece
- Vent – 1 piece
From fusible interfacing:
Sewing Instructions
When stitching pieces, pay attention to the notches - they must match!
- Fuse interfacing to the Waistband and the Vent.
- Place the two Flounce pieces right sides together and stitch the outer edge between the round marks. Press the seam allowances, clip them on the curves and trim the corner. Turn the flounce right side out, ease out the edge, press, and baste the layers together along the upper edge.
- Stitch the back princess seams (Center Back to Side Back on each side), inserting the open edge of the flounce into the left princess seam. Press the seam allowances towards the centre and serge.
- Stitch the left front princess seam (Left Side Front to the centre front panels), press the seam allowances towards the centre and serge.
- Stitch the left side seam, press the seam allowances towards the back and serge.
- Baste the flounce to the upper diagonal edge of the skirt and to the diagonal edge of the Middle Center Front, laying a pleat on the flounce at the marking. Stitch the Upper Center Front to the Middle Center Front. End the stitching exactly at the marked line of the right princess seam. Clip the flounce allowance at this point. Press the seam allowances upwards and serge.
- Turn the flounce and baste it to the lower diagonal edge of the skirt. Stitch the Lower Front-Back to the skirt, press the seam allowances upwards and serge.
- Stitch the right front princess seam, press the seam allowances towards the side and serge.
- Place the Vent on the vent extension of the Left Center Back, right sides together, and stitch. Serge the centre back edges of each back piece separately, serging the vent edges at the same time. Stitch the centre back seam from the zip mark to the top of the vent. Press the seam allowances open, pressing the zip opening allowances as well; press the vent allowances towards the left side. Press the right vent edge under by 1 cm and topstitch. Secure the vent allowances with a line of machine stitching. Insert the zip.
- Stitch the right side seam, press the seam allowances towards the back and serge.
- Press the Waistband in half lengthwise, wrong sides together. Stitch the outer half of the waistband to the upper edge of the skirt, stitching the waistband ends at the same time. Turn under the raw edge of the inner half and stitch it in the ditch of the waistband seam. Make the buttonhole and sew on the button.
- Serge the lower edge of the skirt, press the hem allowance to the wrong side and hem by hand with blind stitches.