Professional made-to-measure digital sewing patterns — PDF · PLT · DXF AAMA
A women's fitted shift dress, just above the knee, with a round neckline, short set-in sleeves and a separate front overlay that runs diagonally from one shoulder to the centre and then straight down to the hem, held by one button. The back has darts and an invisible zipper. Drafted to your own measurements. Recommended fabric: dress fabrics made from natural or blended fibres with added elastane.
A women's fitted shift dress, just above the knee, with a round neckline, short set-in sleeves and a separate front overlay that runs diagonally from one shoulder to the centre and then straight down to the hem, held by one button. The back has darts and an invisible zipper.
Silhouette: Close-fitting sheath shaped by bust and waist darts at the front and darts at the back.
Length: Just above the knee.
Neckline: Round neckline finished with interfaced front and back facings; the back facings are attached to the zipper tape.
Sleeves: Short, one-piece set-in sleeves; hem allowance 2 cm, topstitched.
Front: One-piece front under a floating overlay with its own dart. The overlay's neckline, centre and bottom edges are turned in and topstitched (1.5 cm allowance at the neckline and centre edge, interfaced), and it is caught in the side and shoulder seams.
Closure: Invisible zipper in the centre back seam; one button with a buttonhole on the overlay.
Back: Two back pieces with darts and a centre back seam.
Finishing: Dress and sleeve hems finished and topstitched with a 2 cm allowance.
Intermediate. Bust and waist darts, a loose overlay layered onto the front and caught in the seams, a faced neckline, set-in sleeves, an invisible zipper and a buttonhole.
Dress fabrics made from natural or blended fibres with added elastane.
If the patterns have a double contour, seam allowances are included. If the contour is single, the patterns are without seam allowances. Seam allowances: all seams 1 cm. Hem allowance for the bottom edge of the garment and sleeve – 2 cm. Allowance for the neckline edge and the center edge of the floating detail – 1.5 cm. Attention! First of all, print out the paper patterns and lay them out on the fabric width (fabric width can be from 90cm to 150cm) to determine how much material you will need (don't forget to account for paired and symmetrical details). Attention: Markings on the patterns are made on the right side.
From main fabric:
From fusible interfacing:
When stitching details, pay attention to the notches - they must match!

#2559
Funnel-Neck Shift Dress with Asymmetric Front Tuck

#2558
Sleeveless Round Neck A-line Dress with Inseam Pockets

#2564
Peter Pan Collar Dress
#2566
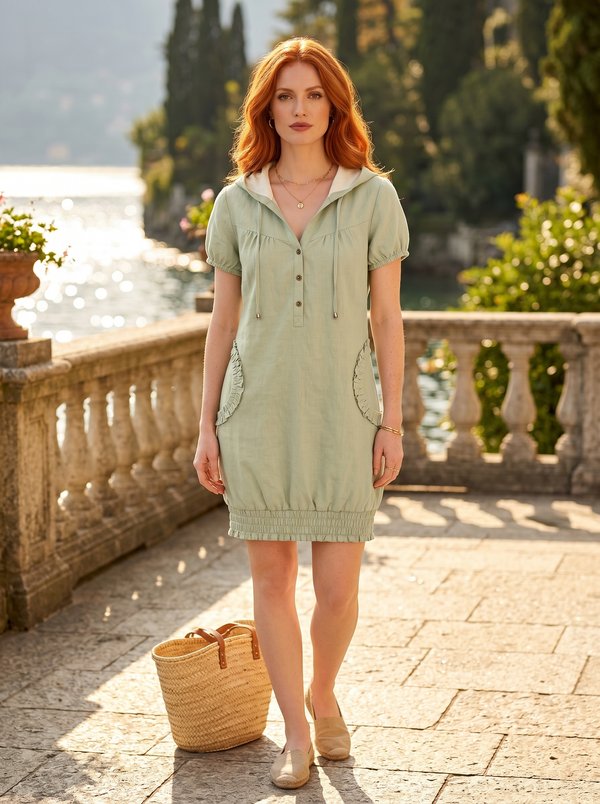
Hooded Tunic Dress with Ruched Hem and Puff Sleeves

#2555
Short Sleeve Sheath Dress with Front Pleats
#2553
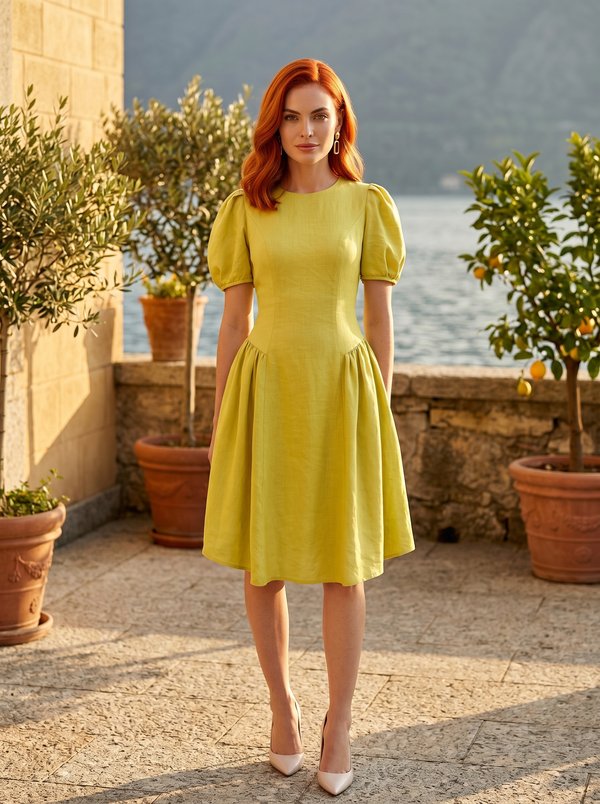
Puff Sleeve Gathered A-Line Dress

#2552
Button Front Flounce Sleeve Dress

#2572
Mandarin Collar Dress with Side Slits

Minerva Support
Online